Protecting Your Investment Before Final Payment
When a big carpentry project is almost done, it is easy to get swept up in the excitement. New built-ins are in, trim is up, and you can already see late-summer gatherings or back-to-school routines fitting around the new space. This is exactly the moment to slow down and do a careful walk-through before you hand over that final payment.
A structured inspection protects your investment. Once the last check is written, it is harder to get changes made. A clear, calm checklist lets you spot issues early, ask smart questions, and make sure the work is truly built to last, not just good enough for one season.
At White Oak Renovations, founded in 2022 by craftsman Michael Fogarty, we believe in no shortcuts, honest communication, and respecting your home. The way we inspect our own custom carpentry services is the same process we are sharing with you here, so you can feel confident and avoid awkward last-minute disputes.
What Quality Custom Carpentry Really Means
Quality is not about a quick wow factor, it is about how the work behaves after years of kids, pets, and everyday life. True quality carpentry feels solid, works smoothly, and still looks good long after the final sweep-up.
Here is what that usually means in practical terms:
- Joints that stay tight without opening up into wide gaps
- Doors and drawers that open and close smoothly and sit level
- Shelves that do not sag when you load them with books or storage bins
- Finishes that stand up to fingerprints, bumps, and cleaning
There is a big difference between cosmetic fixes and real craftsmanship. Caulk, putty, and paint are meant for fine-tuning, not hiding sloppy cuts or poor planning. Good custom carpentry services look clean on the surface because the substructure is sound, the layout was thought through, and the pieces are fastened correctly.
You should also expect professional habits during the project, such as:
- Rooms broom-clean at the end of the day
- Tools and materials stored safely out of main walkways
- Simple, regular updates on what is done and what is next
For us at White Oak Renovations here in Connecticut, that is part of respecting your home, not a bonus.
Visual Checks for Straight Lines, Gaps, and Symmetry
Start your inspection by just using your eyes. Move slowly, do not rush. Begin in one corner of the room and work your way around clockwise so you do not miss areas.
Look from different heights:
- Standing, like you normally move through the space
- Seated, the way you might see a media wall or built-ins
- Low, even at floor level, to let light and shadow show flaws
As you go, watch for:
- Straight reveals and even margins around cabinet doors, wall panels, and built-ins
- Tight joints where trim meets walls, ceilings, and floors, with neat caulk lines, not globs or big smears
- Symmetry around windows, fireplaces, and media centers, such as equal stile or shelf spacing on each side
A few simple tools help a lot:
- A small flashlight, held close to the surface, to highlight ripples or rough spots
- A tape measure to confirm equal distances on each side of a window seat or built-in
- Your own eye, sighting along the length of a cabinet face or handrail to spot bows or waves
Many Connecticut homes have older, wavy walls. Small, even gaps that are cleanly caulked can be normal. What should concern you is:
- Crooked profiles that do not follow the wall at all
- Gaps that widen and narrow along the length of a board
- Obvious shims or filler stacked in one area
Those signs can point to rushed layout or poor planning.
How to Inspect Joinery and Structural Strength
Next, pay attention to how things are actually held together. You might not see every hidden joint, but you can still get a good sense of the structure.
Common types of joinery you may notice in quality custom carpentry services include:
- Mitered corners on door and window casing, with tight, clean seams
- Coped joints on baseboard or crown in inside corners, where one piece is shaped to fit the other
- Pocket screws on cabinet face frames that are tight and plugged or hidden
- Dowels or biscuits used to join shelves and panels for better strength
- Dovetails or quality drawer hardware that supports smooth, solid action
Test the integrity gently, without forcing anything:
- Lightly push and pull tall cabinets and built-ins; they should feel anchored, not wobbly
- Press down on shelves, especially long ones; a little give is normal, but they should not feel spongy
- Open and close doors and drawers all the way; they should glide smoothly, line up with neighbors, and stay closed without drifting
Watch for red flags such as:
- Wide, uneven joints filled mostly with caulk or putty instead of tight wood-to-wood contact
- Nail or screw heads visible, proud of the surface, or not cleanly filled
- Loose stair parts, especially newel posts, that creak, twist, or flex when you lean or step
At White Oak Renovations, we spend a lot of time planning blocking and framing behind the scenes. When the structure is solid and the fasteners are chosen for the job, the visible pieces sit right and stay that way.
Evaluating Materials, Hardware, and Finish Quality
Materials matter as much as layout. Look closely at what was actually installed, especially in high-wear or moisture-prone areas.
For materials, check for:
- Solid hardwood on stair treads, handrails, and shelf fronts that will take bumps and refinishing better than thin veneers
- Cabinet-grade plywood in basements and near moisture, instead of weak, crumbly particleboard
- Trim boards that are straight and dry, with minimal knots, not warped or heavily patched pieces
Then move to the hardware:
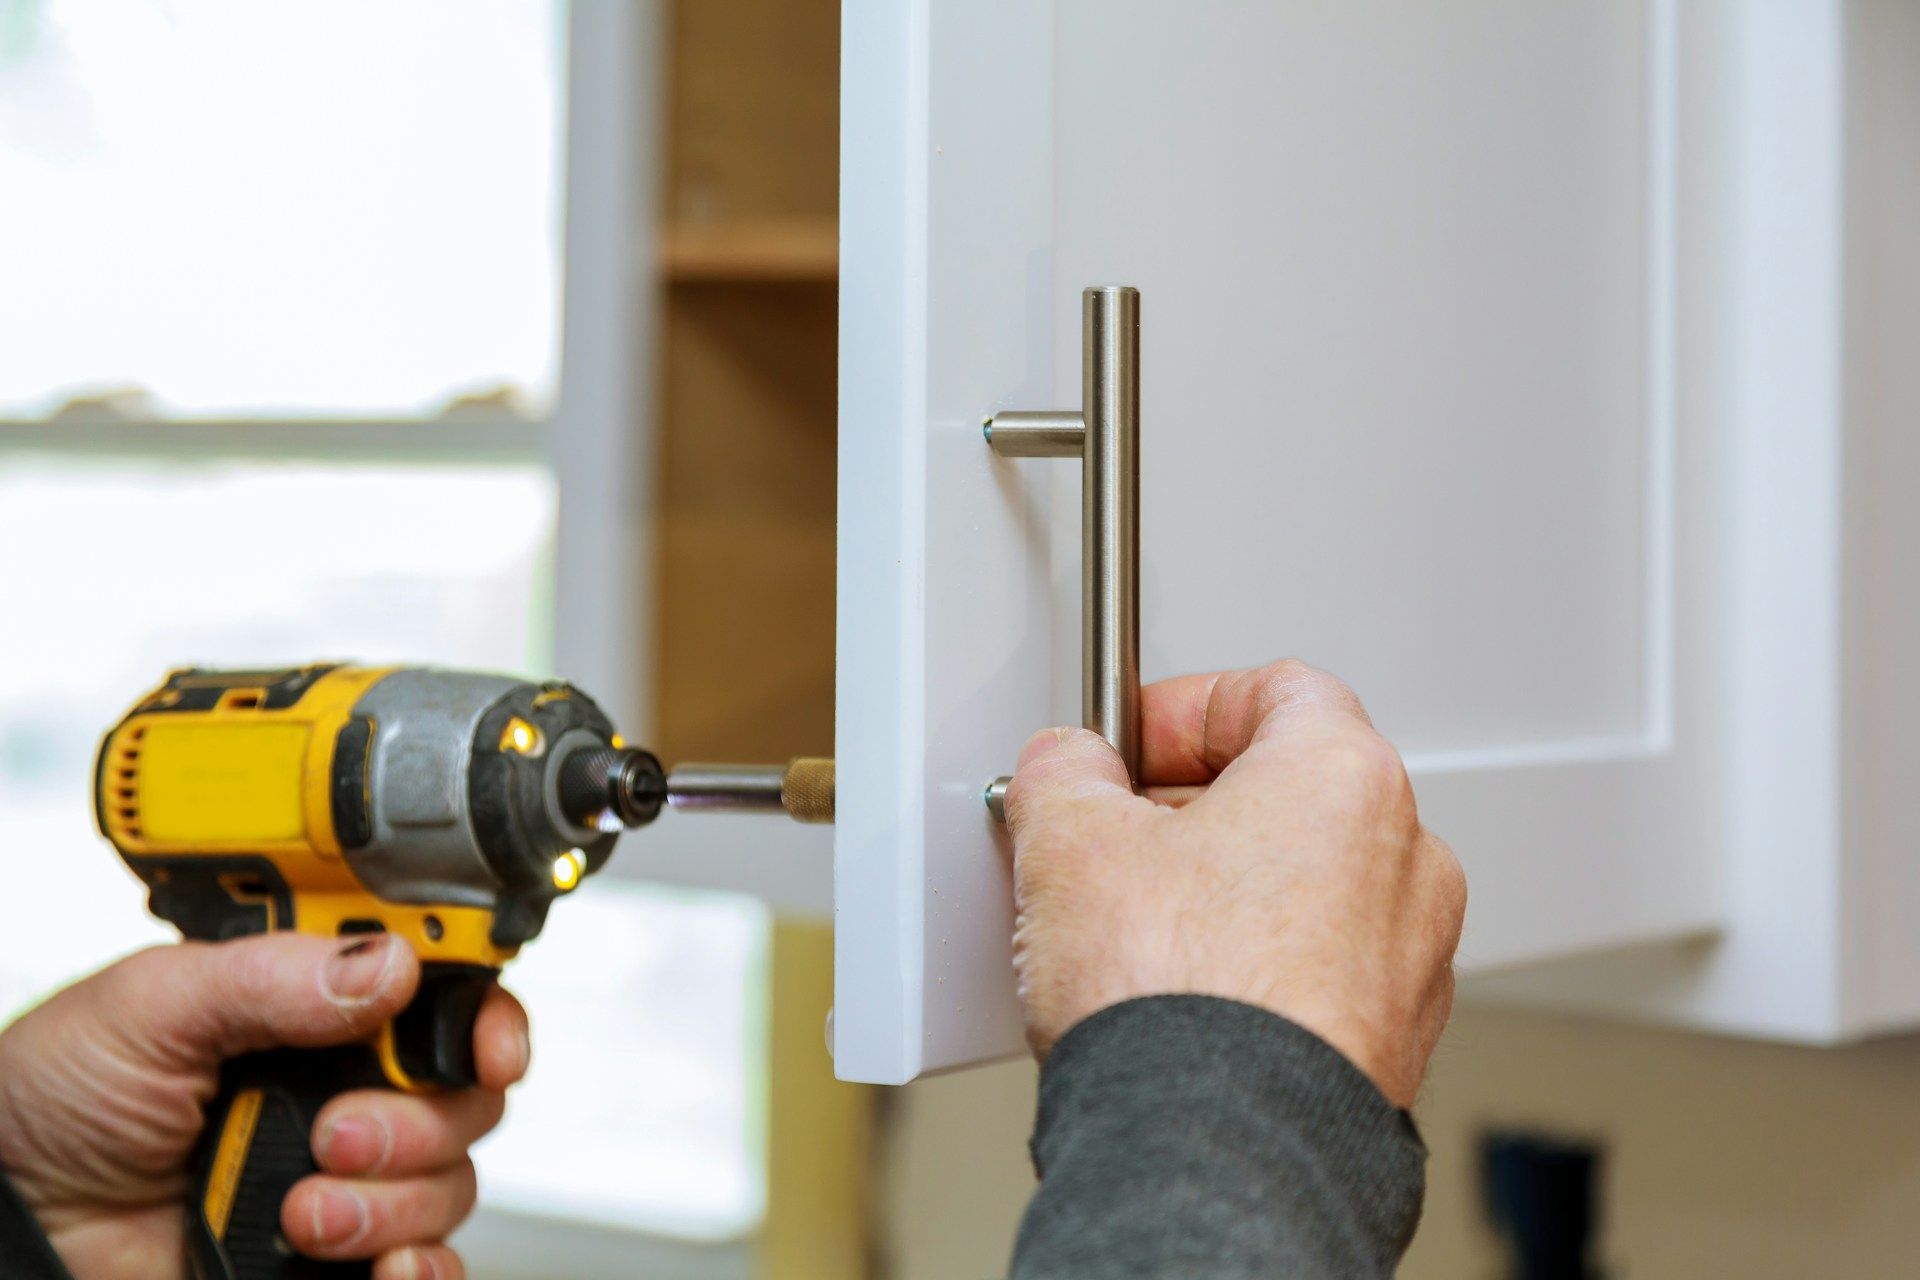
- Hinges, pulls, and slides should be snug, with the right screws, not mismatched or stripped heads
- Soft-close doors and drawers should close gently without needing a hard shove
- Handles and knobs should be aligned and evenly spaced from one door to the next
- Specialty hardware like pull-out trays, hidden panels, or built-in desks should move smoothly without rubbing or binding
For the finish work, take your time and change the lighting:
- Look during daylight and again with the room lights on
- Watch for drips, sags, heavy brush marks, or thin spots in paint or clear coats
- Run your hand along rails, edges, and moldings; they should feel smooth, not sharp or gritty
- Check that stained pieces are reasonably consistent in color, and that the grain is treated in a way that matches what you agreed on
In a Connecticut summer, humidity can cause minor swelling. A cabinet door that is slightly snug for a few sticky weeks can be normal. What is not normal is a door that will not close without force, drawer boxes that hit each other, or clearances so tight that finish wears off right away. That points to poor planning, not just weather.
Creating a Clear Punch List and Final Walk-Through Plan
As you notice things, write them down. A simple punch list keeps the conversation clear and calm for everyone.
A helpful punch list will:
- Group items by area, such as Basement Built-Ins, Staircase, or Kitchen Trim
- Describe each item in short, factual notes, like “left cabinet door rubs top frame”
- Mark if an issue is functional or cosmetic, so your carpenter can prioritize
- Include photos for anything that is hard to describe
When you are ready to talk with your carpenter:
- Set a dedicated walk-through time, ideally a week or so before you plan to make final payment
- Walk the space together and review each punch-list item in person
- Ask for realistic time frames and agree on what must be finished before the last check is released
- Be open to hearing about your home’s existing conditions, but also expect straightforward answers when work falls below the agreed standard
It also helps to keep everything documented. Tie the final payment to the completion of clearly defined items and note any change orders or adjustments in writing. After the walk-through, a simple email summary of what was discussed keeps everyone on the same page.
At White Oak Renovations, we try to get ahead of this step with our own pre-walk inspections. For us, the goal is the same as yours: custom carpentry that you are proud to show off, heading into the fall, the holidays, and many years after that.
Walk Your Project Like a Pro and Protect Your Home
Using a checklist like this does not mean you are hunting for flaws or trying to trip anyone up. It is about treating your home with care, making sure the work is safe, strong, and ready for daily life. When you move slowly and stay specific, you protect your investment and keep the relationship with your contractor respectful.
For bigger projects that wrap up in July or August, try to time your final inspection after major dust is cleaned up and finishes have had some time to cure. That way, doors, drawers, and moving parts are closer to how they will act month to month, not just in the middle of heavy construction.
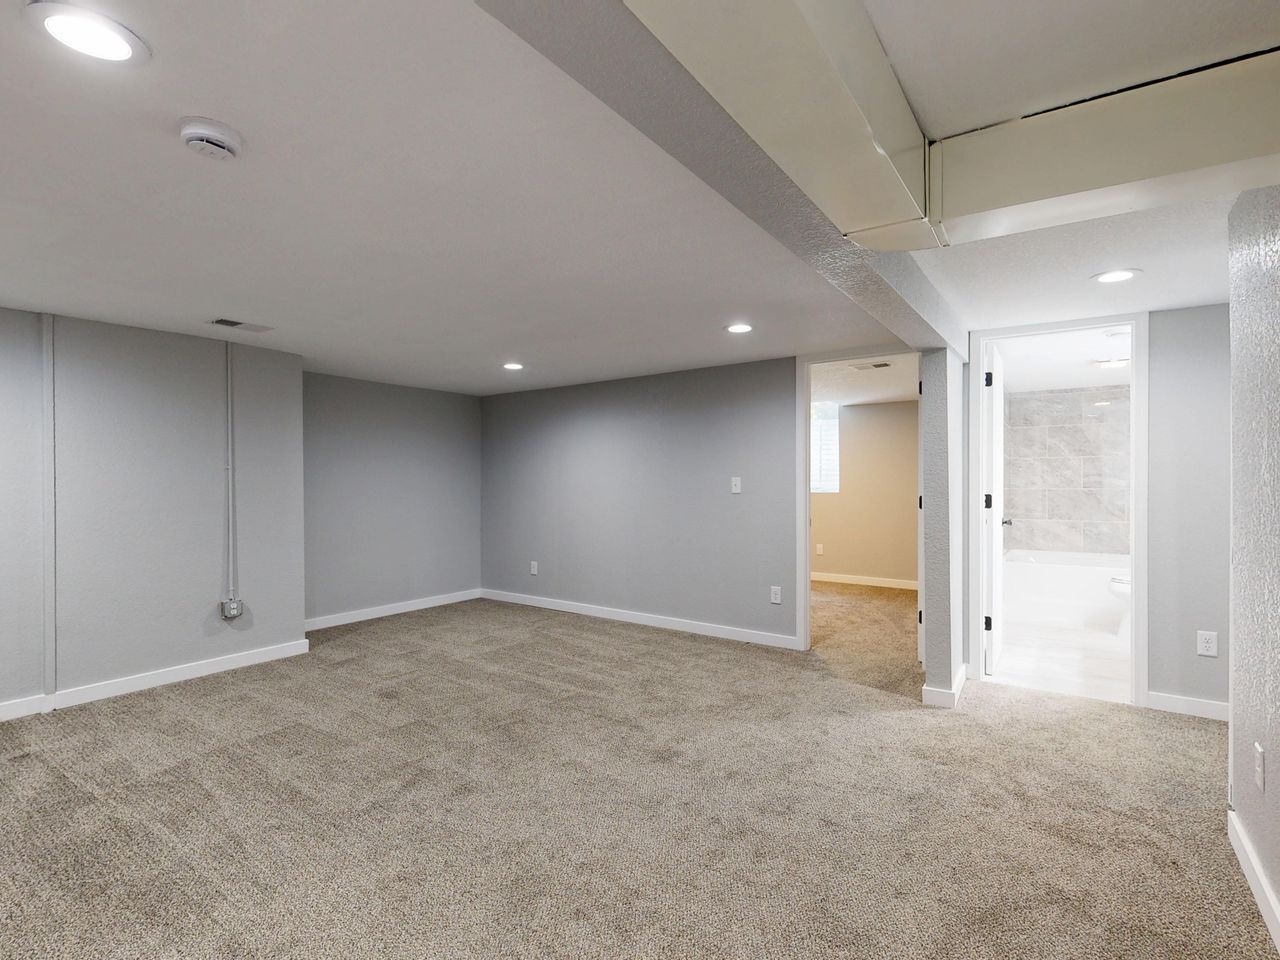
A good carpenter is not afraid of an informed client. At White Oak Renovations, founded by Michael Fogarty, we welcome clear questions and a careful look at our custom carpentry services. Whether it is a finished basement, a built-in media wall, or detailed millwork, we believe in precision, no shortcuts, and treating your home like it is our own.
Get Started With Your Project Today
Bring your ideas to life with our tailored approach to design, materials, and craftsmanship. Explore our
custom carpentry services to see how White Oak Renovations can create built-ins, trim, and custom wood features that fit your home perfectly. If you are ready to discuss your project,
contact us and we will follow up to schedule a convenient time to talk.